Article: A sculptural Christmas tree, made from the veld

A sculptural Christmas tree, made from the veld
Step-by-step guide
A sculptural Christmas tree, made from the veld
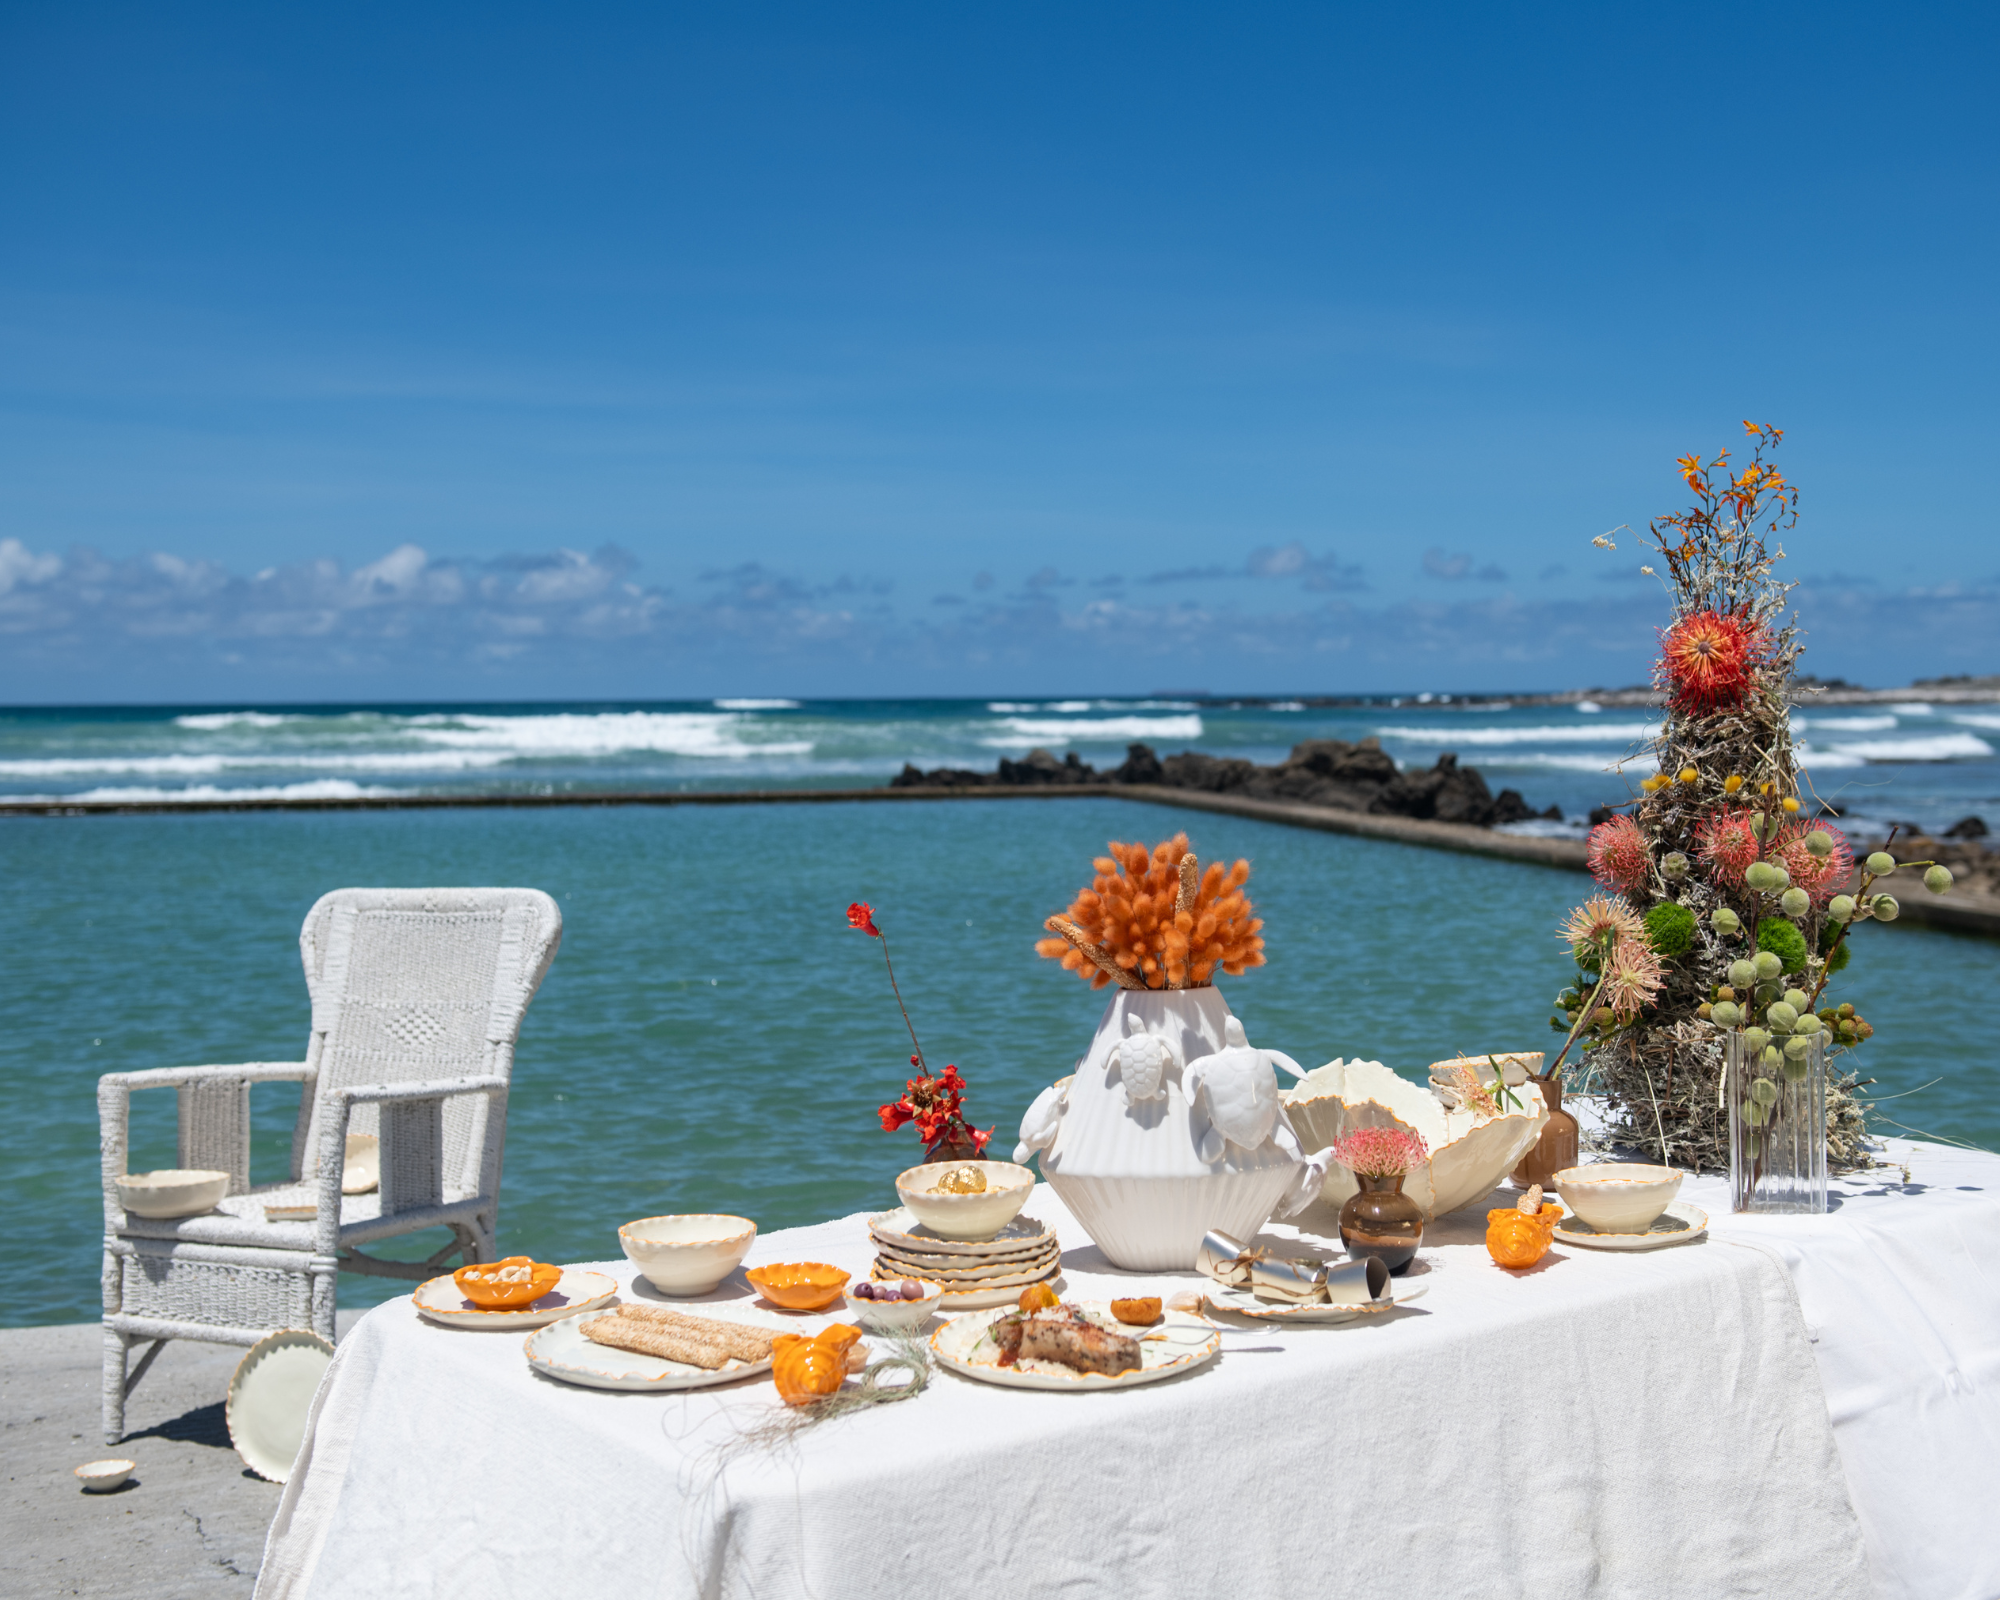
Some Christmas décor is loud. This one is quiet, textural, and unapologetically natural, built by hand from dried grasses, reeds, and seed heads, held together with simple chicken wire and patience. It’s less “decorate the tree” and more “make the tree”.
The best part: you can forage and prep most of it in advance, so the making becomes a slow, satisfying ritual.
What you’ll need
-
Chicken wire (galvanised)
-
Thin binding wire
-
Secateurs
-
Wooden dowels (for internal support)
-
Dried grasses, reeds and seed heads (a mix of fine + bold textures)

Step 1: Form your cone base
Roll the chicken wire into a cone shape, wide at the bottom, tapering softly at the top. Overlap the edges and secure the seam by threading binding wire through the mesh and twisting tight.
Tip: Keep it slightly imperfect. A handmade silhouette is the point.

Step 2: Add the structure
Slide wooden dowels vertically inside the cone to create a spine. Wire them lightly to the chicken wire so the form holds and stands securely.

Step 3: Sort your grasses
Lay everything out and separate into:
-
Long flowing stems (movement)
-
Mid-length fillers (volume)
-
Seed heads and textured pieces (character)
Do not trim everything to the same length, variation creates depth.
 Step 4: Begin at the top
Starting at the top, place a bundle of dried grasses against the wire. Wrap binding wire around the top of the bundle, catching the chicken wire underneath, then twist tight and tuck the wire ends away.
This first layer sets the tone. Keep it generous.
 Step 5: Build upward in overlapping layers
Work upward in a spiral. Each new bundle should overlap the previous layer enough to conceal the binding and create a soft cascade.
Keep the grasses angled downward so they fall naturally.
Step 6: Introduce contrast as you go
Add seed heads and stronger stems intermittently, placing them slightly off-centre. Let some pieces protrude they create that sculptural, editorial feel.
Step 7: Refine the top
As the cone narrows, reduce bundle size. Pull the top into a clean taper, finishing with a small tuft or a soft, natural point.
No topper needed the silhouette does the work.
Step 8: Edit with restraint
Step back and trim only what distracts. Fluff a few strands forward. The final look should feel wild but considered.

How to style it afterwards
-
Place it where light hits texture (near a window or doorway).
-
Keep the setting minimal, this piece is the statement.
-
Style the base with one grounding element only: linen cloth, a woven mat, a single wrapped parcel, or a ceramic vessel.
-
Avoid shiny ornaments and heavy colour. This is about tone, texture, and calm.
See how: Visit Rialheim
Leave a comment
This site is protected by hCaptcha and the hCaptcha Privacy Policy and Terms of Service apply.